This video is different from the kinds of videos I normally do on my channel, but people told me on my Facebook page that they would find this useful. This is just a raw GoPro shot of me mixing during our worship service this past weekend, and I’ve added some text commentary along with it to tell you what I’m doing and in some cases why. You may need to pause the video at times to read this because sometimes things happen faster than you’re going to be able to read it.
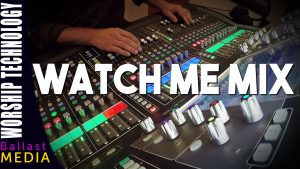
Something to note is that when you get to the actual event, and you’re mixing, that’s kind of like the icing on the cake, so I’m showing you the icing without showing you how I made the cake! Things like patching and routing the board, your stage setup, mic’ing, dialing in EQ’s and compressors, – all of that was done ahead of time and you won’t see that in this video.
You’re hearing the audio straight off the GoPro that I used to film this. So don’t expect to hear great sound, but I think it will give you enough context for what I’m doing.
A few things to look for…
1. Anticipating transitions.
2. Managing the low end – I’m pretty active in managing my low end and keeping it in a pocket that both adds intensity to the mix, but isn’t going to upset the older generation in our audience. Something I’m aware of and I think maybe has come with some maturity in my mix, is that I’m not mixing for myself, I’m mixing for the congregation that I’m serving.
3. Riding the vocals. You might not see much movement, but very small subtle movements on the vocal faders and mainly the vocal bus, I’m riding the vocal just on top of our congregation so they can be heard and lead without blowing out my dB limit. I do have a dB meter beside me that I use as a guide. I don’t have a hard limit, like “I can’t go above 95dB.” I have what I’d call checkpoints. In other words, is the dB level that I’m at appropriate for where we are in the service and what’s going on. Generally I try and stay around 85dBA slow, but there are times lower than that and times we’ll get louder when needed. I try and think about how the songs are going to ebb and flow during the service and my volume will as well.
CONNECT WITH ME:
Subscribe: http://www.youtube.com/subscription_center?add_user=makeradventures
Facebook: https://www.facebook.com/stephenballastmedia